This sugar cookie recipe is the ultimate solution for satisfying sudden sweet cravings without the wait. At dishy.blog, we have perfected this “no-chill” method to deliver cookies with chewy centers, crisp edges, and a rich buttery flavor in under 30 minutes. Whether you need a quick weekday treat or a base for holiday decorating, this 8-ingredient formula is tested to perfection.
🛠️ Don’t Let Your Tools Ruin Your Cookies
The Even-Bake Sheet Pan
Thin pans warp and burn cookie bottoms. This commercial aluminum sheet conducts heat perfectly for consistent golden edges every time.
The Perfect Cookie Scoop
Uniform cookies bake evenly. This medium scoop guarantees every single cookie is the exact same size and shape.
Jump to Recipe:
Craving More Sweet Treats?
If you love the comfort of home baking, you need to explore our curated collection of foolproof sweets. From chewy brownies to no-bake cheesecakes, we have something for every sweet tooth. Every recipe is tested to perfection and guaranteed to be a family favorite.
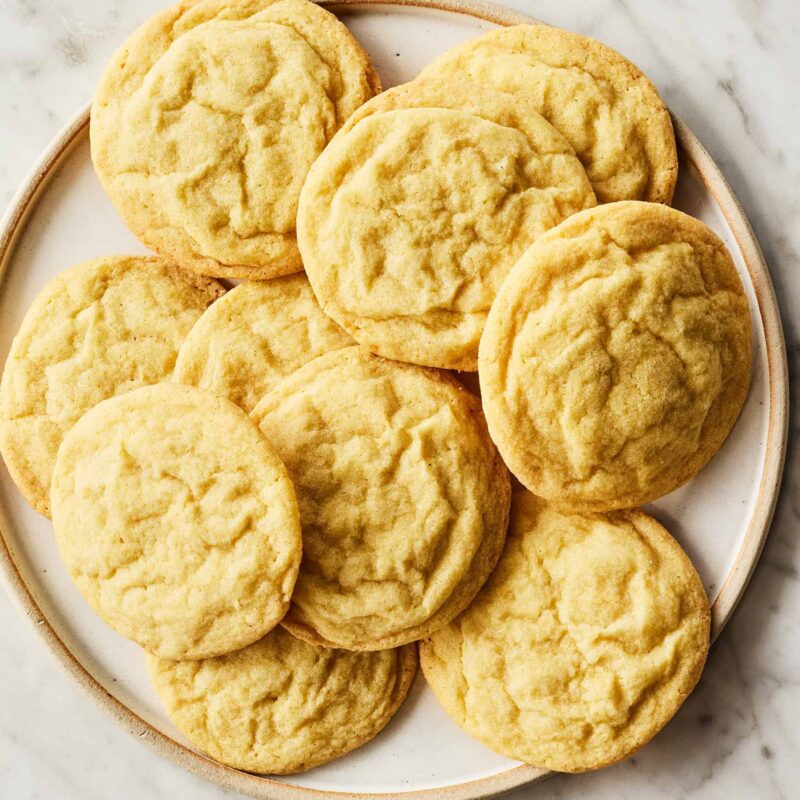
1. The Classic Chewy Sugar Cookie
This is the foundational recipe that has won over the hearts of the dishy.blog community. Unlike traditional recipes that require hours of chilling in the refrigerator, this dough is ready to bake immediately. We utilize a specific combination of baking soda and baking powder to ensure the cookies spread just enough to create that desirable crinkled edge while maintaining a soft, puffy center. Ideally baked at 350°F (175°C), these are best enjoyed warm with a glass of milk.
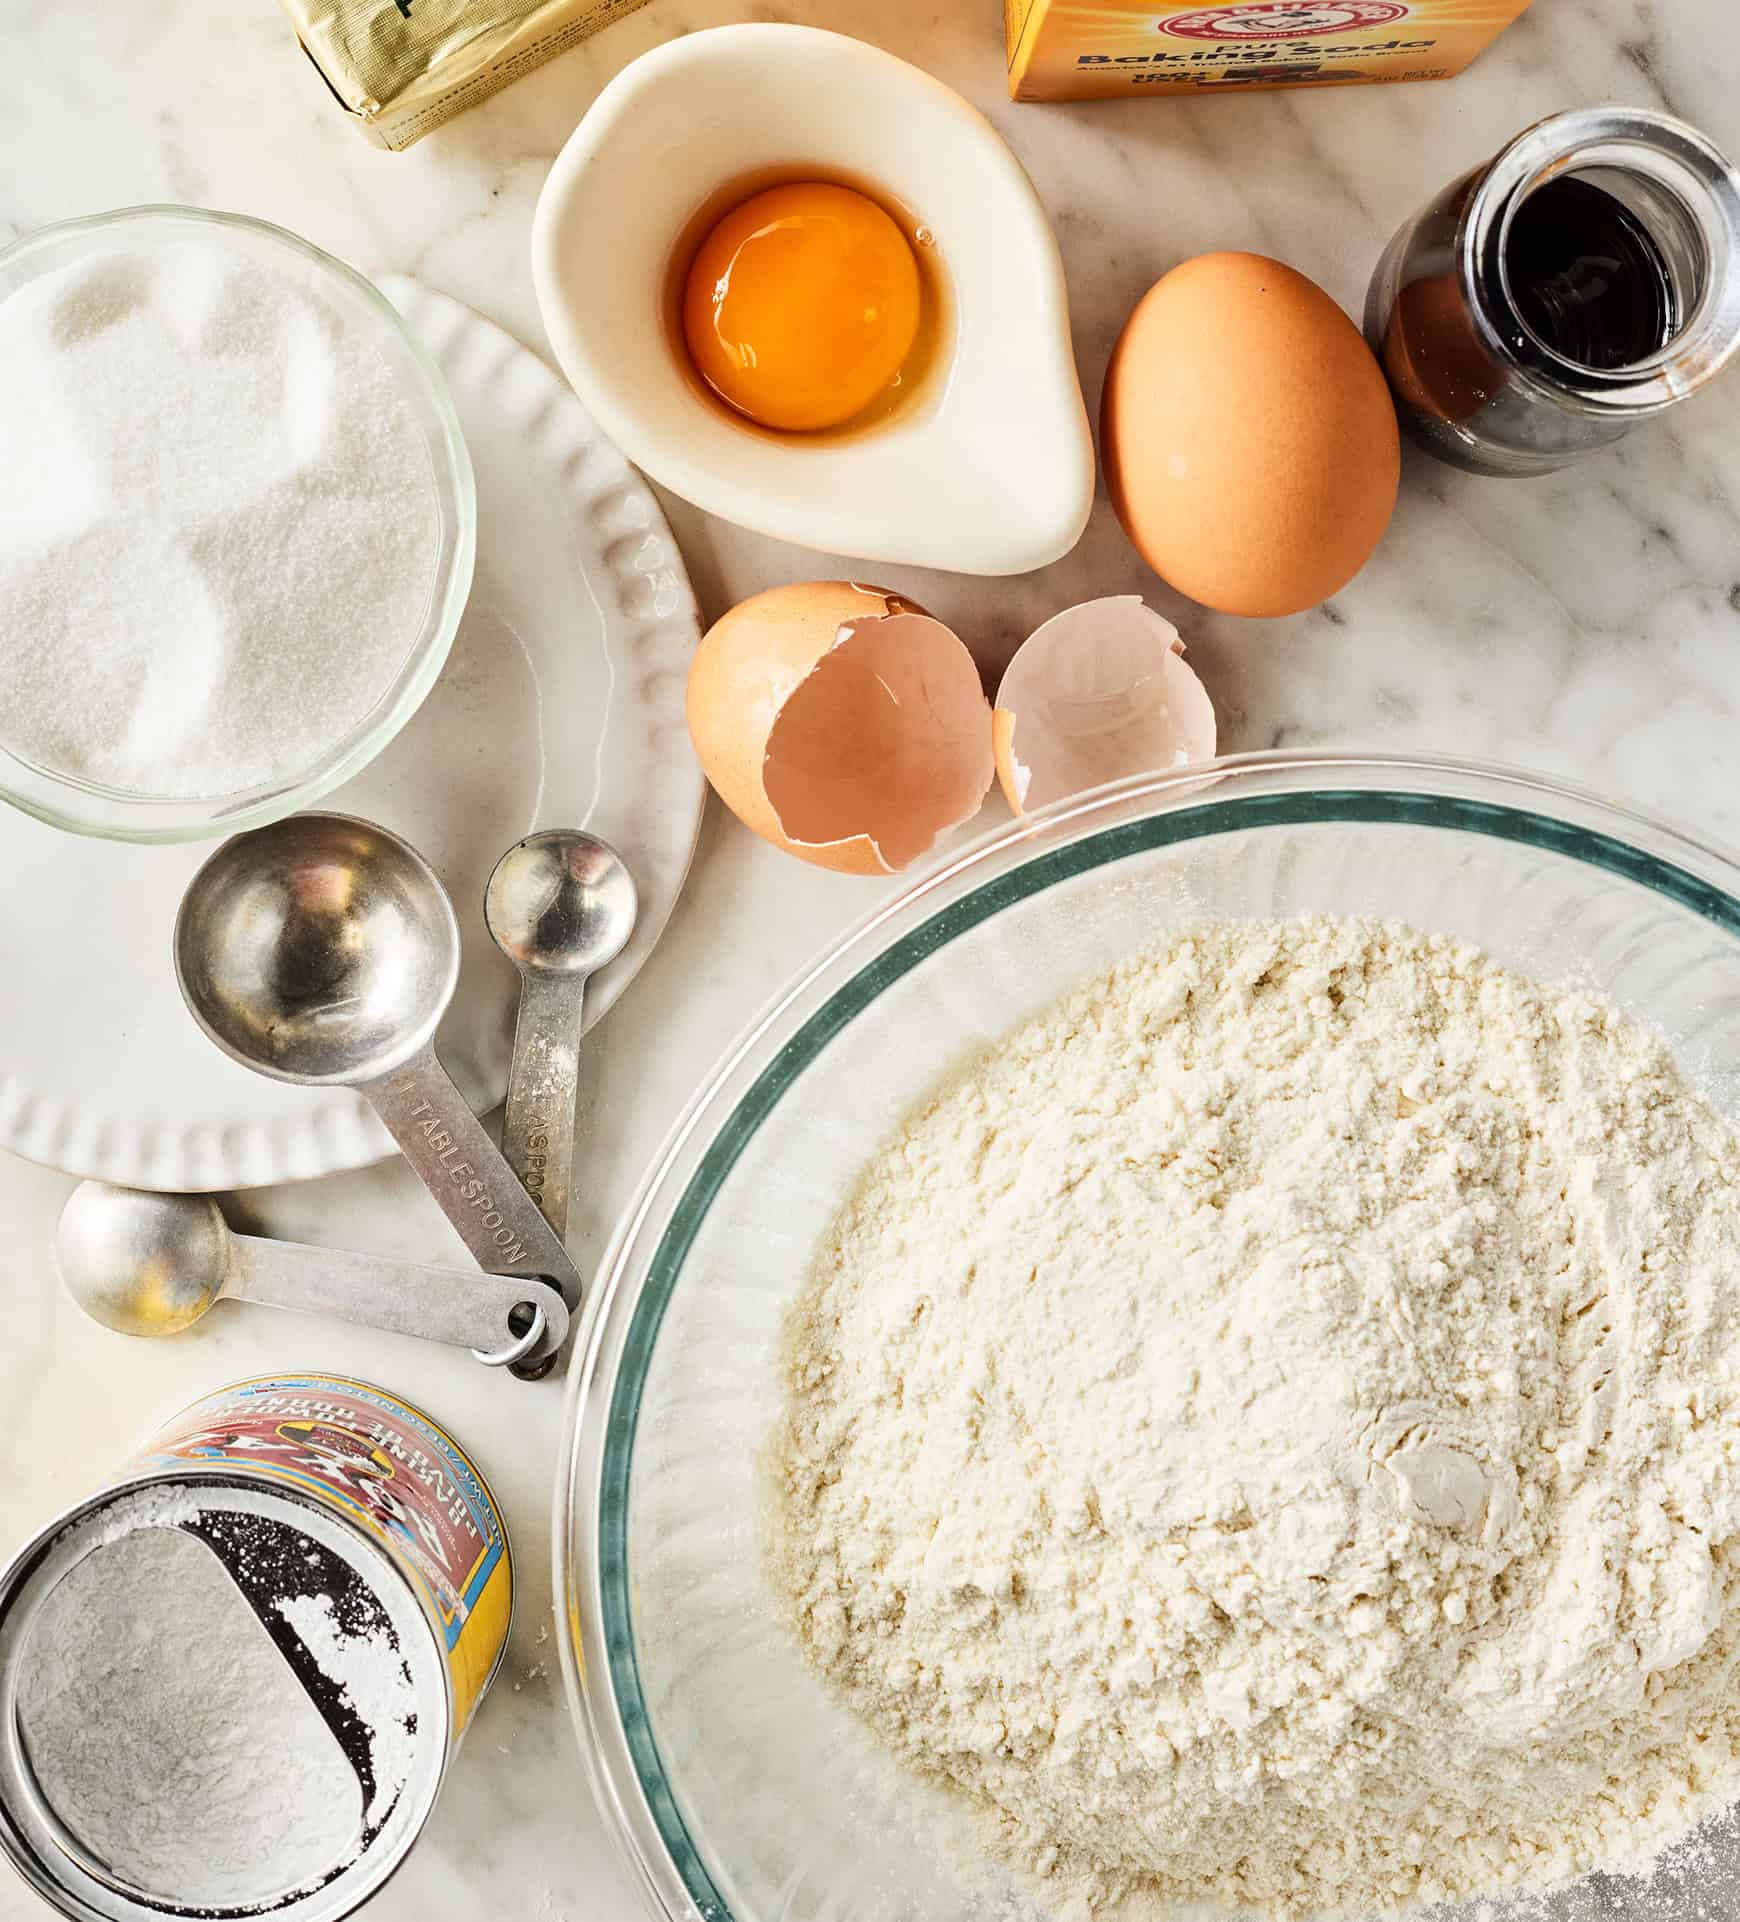
Ingredients
- • All-purpose flour: 2½ cups (Spoon & Leveled)
- • Baking soda: 1 teaspoon
- • Sea salt: ½ teaspoon
- • Baking powder: ¼ teaspoon
- • Unsalted butter: 1 cup (2 sticks), room temperature
- • Granulated sugar: 1¼ cups
- • Egg: 1 large, room temperature
- • Egg yolk: 1 large, room temperature
- • Vanilla extract: 1 teaspoon
Instructions
Prep and Whisk Dry Ingredients
Start by preheating your oven to 350°F (175°C). Line two large baking sheets with parchment paper. Do not use aluminum foil or wax paper, as these can cause the bottoms to burn or stick. In a medium mixing bowl, whisk together the flour, baking soda, sea salt, and baking powder. Ensure these dry ingredients are thoroughly combined so you don’t end up with pockets of salty or bitter dough. Accurate flour measurement is critical here; avoid scooping directly from the bag, which compacts the flour. Instead, spoon it into the cup and level it off.
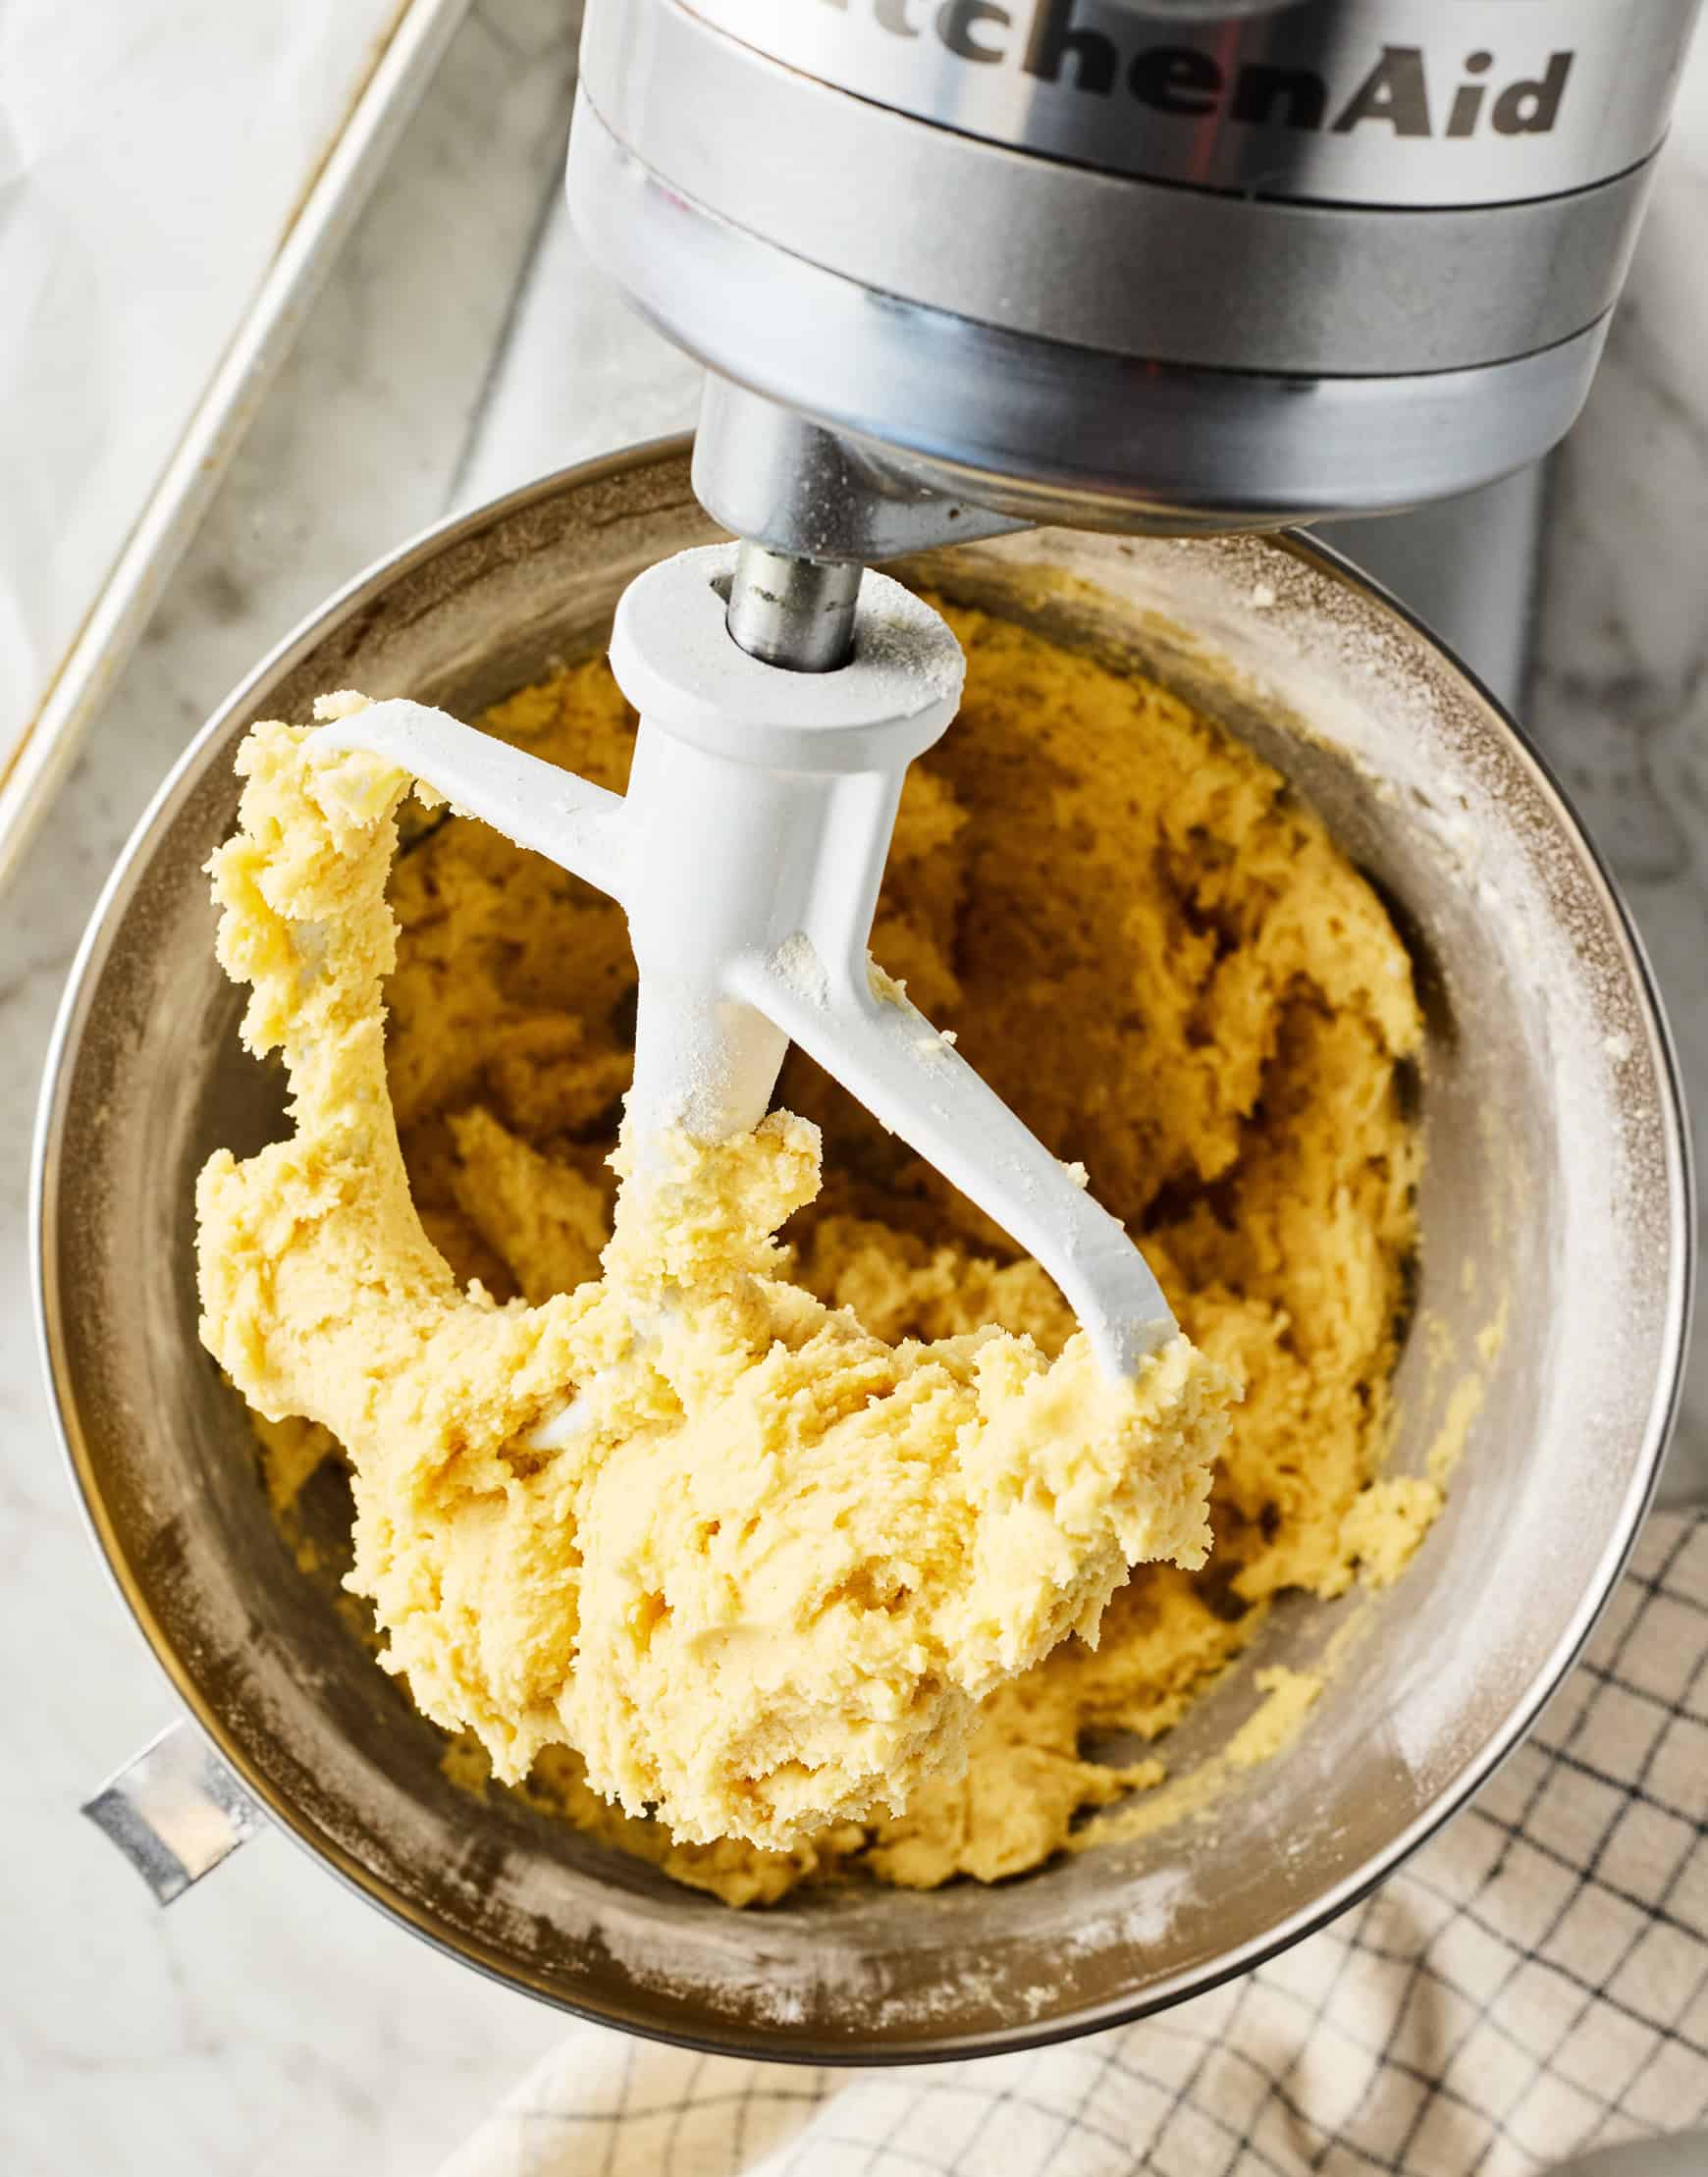
Cream Butter and Sugar
In the bowl of a stand mixer fitted with the paddle attachment (or using a large bowl with an electric hand mixer), combine the softened butter and granulated sugar. Beat on medium-high speed for about 1 to 2 minutes until the mixture is pale yellow and fluffy. This process, called creaming, forces air into the butter, which aids in leavening. Scrape down the sides of the bowl. Add the whole egg, the extra egg yolk, and the vanilla extract. Mix on medium speed until fully combined and creamy.
Combine and Scoop
Turn the mixer to low speed and gradually add the dry flour mixture to the wet ingredients. Mix only until the flour has just disappeared and a soft dough forms. Do not overmix at this stage, or the gluten will develop too much, leading to tough cookies. Using a 2-tablespoon cookie scoop, portion the dough out onto your prepared baking sheets. Space them at least 2 inches apart, as the baking soda will cause them to spread significantly in the oven.
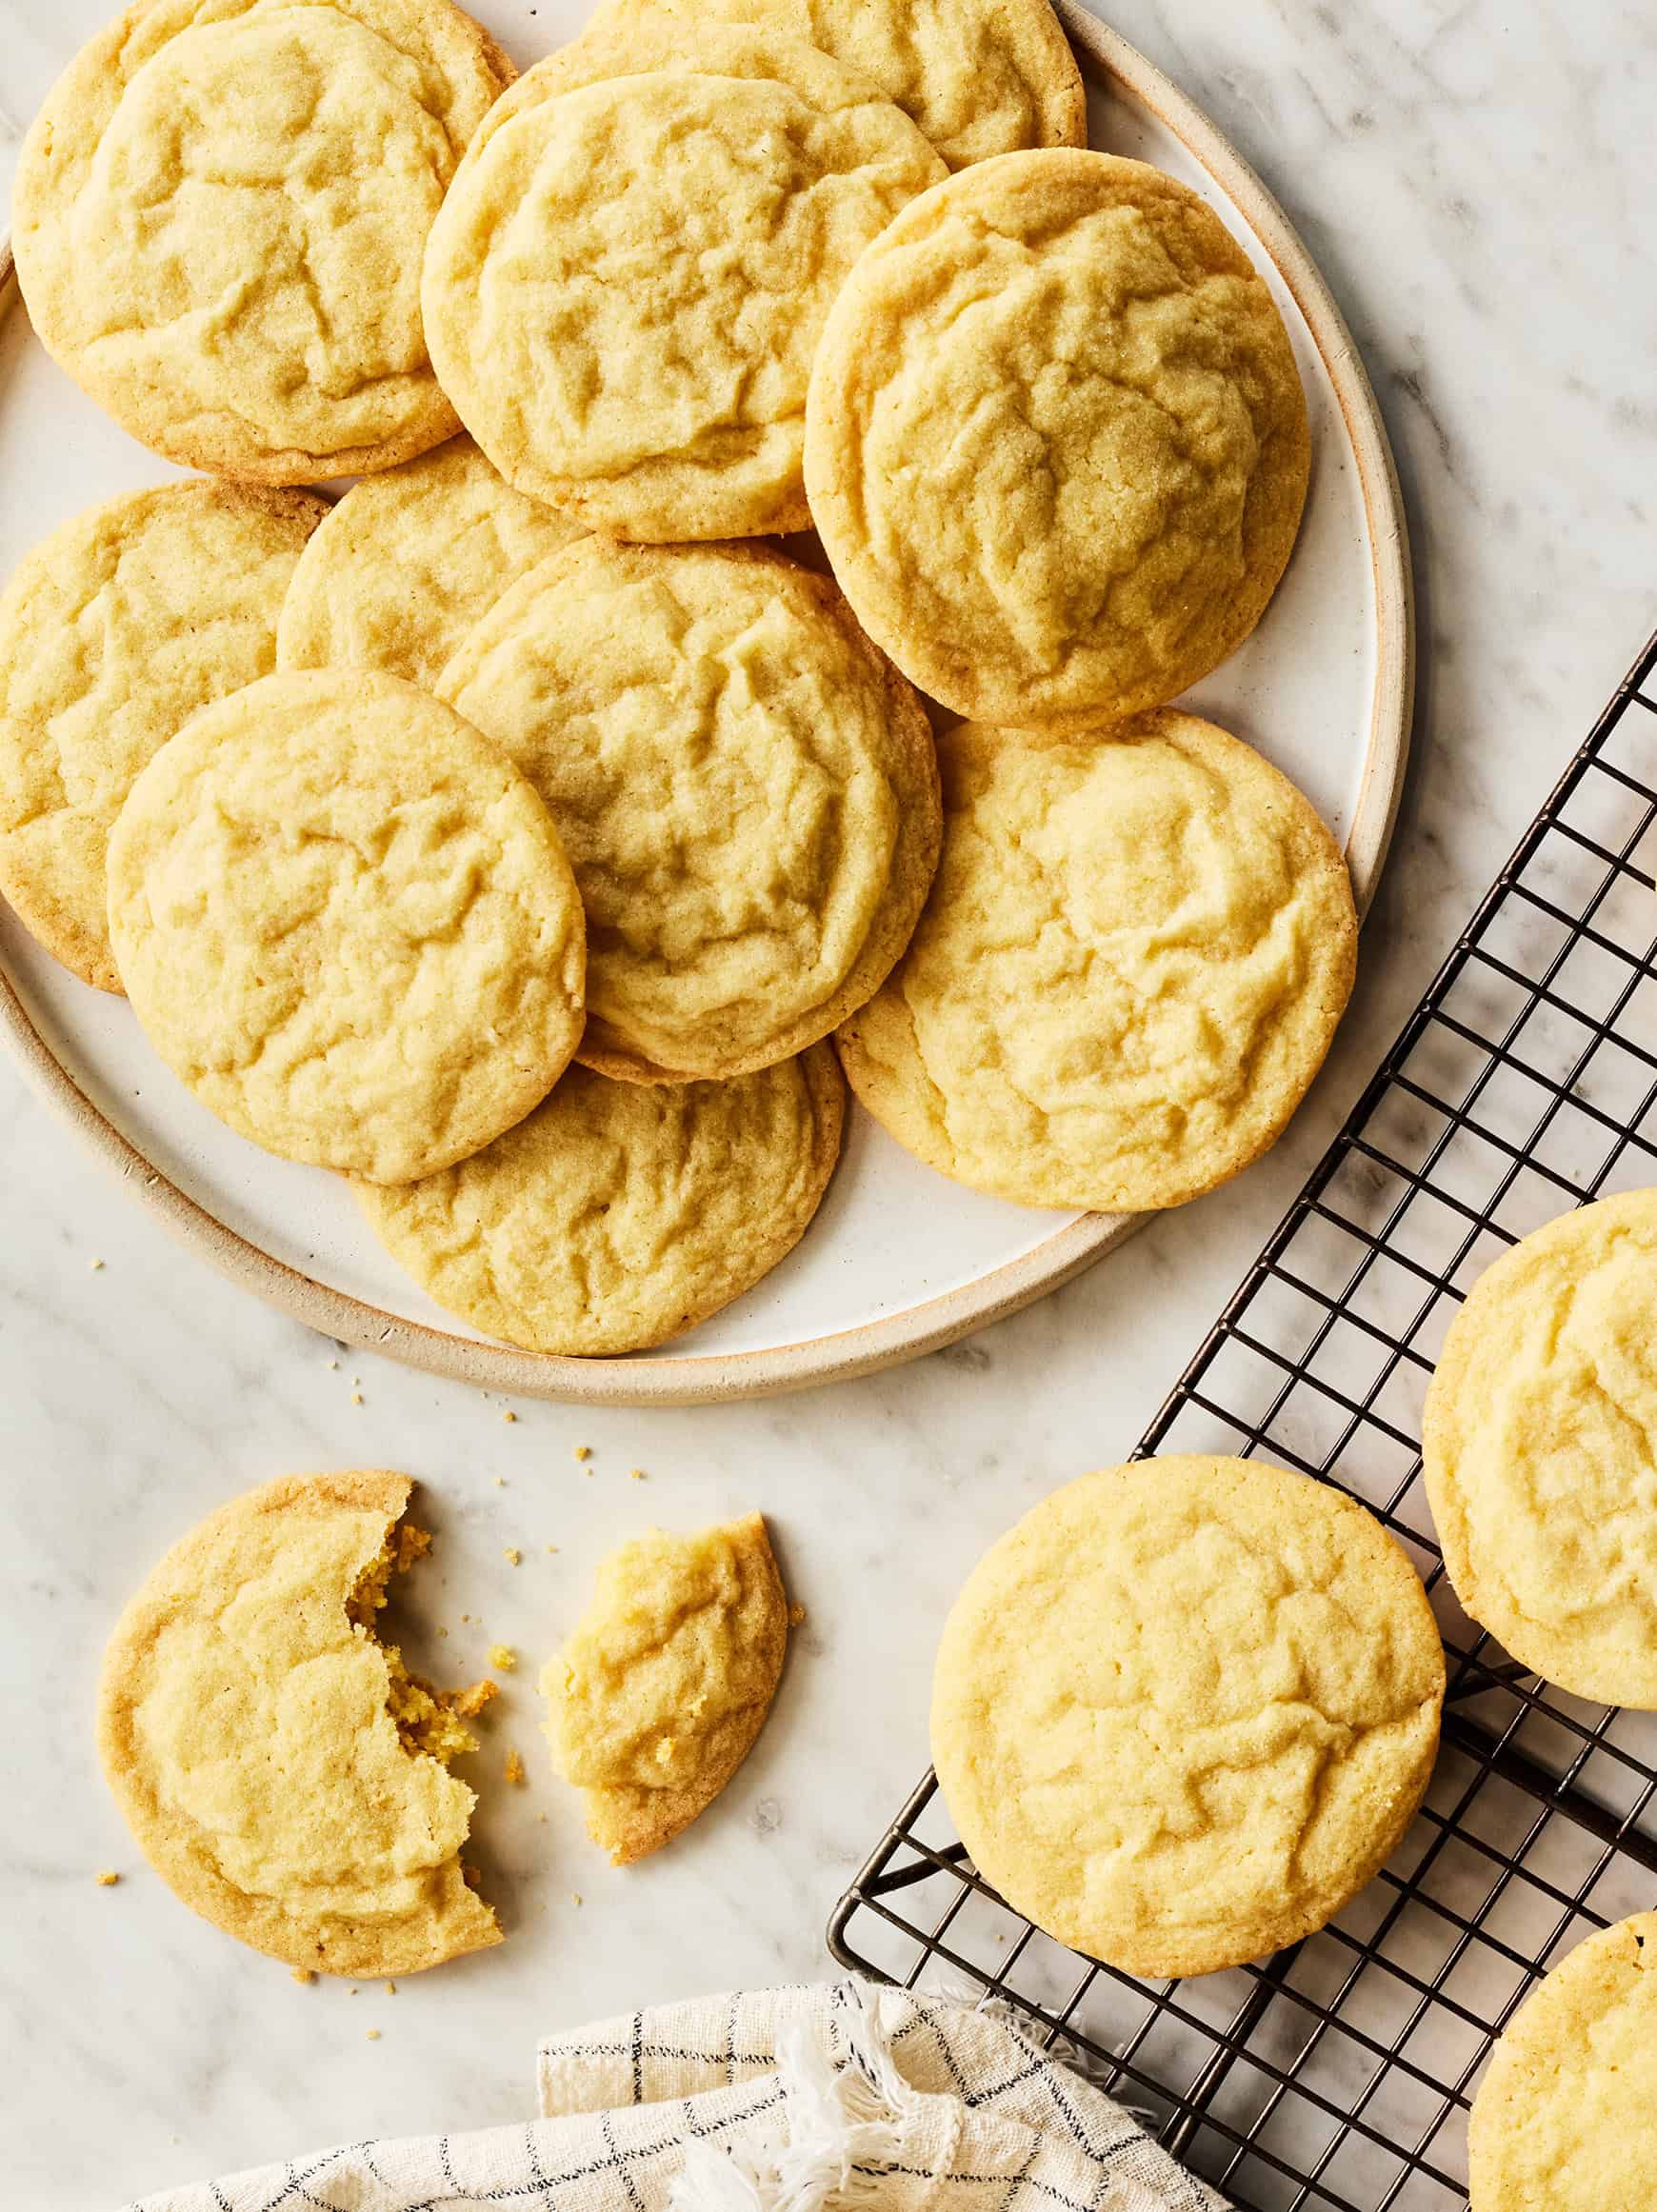
Bake and Cool
Bake the cookies, one sheet at a time, in the center of the preheated oven for 10 to 11 minutes. You are looking for the cookies to puff up and just barely start turning golden brown around the edges. The centers should still look slightly soft and underbaked. Remove them from the oven and let them cool directly on the baking sheet for 5 minutes. They will deflate slightly and firm up as they cool. After 5 minutes, transfer them to a wire rack to cool completely.

2. The “Holiday Sparkle” Variation
This variation adds a delightful textural contrast and visual flair, making these simple cookies perfect for festive occasions. By rolling the dough balls in sugar before baking, you create a crystalline crust that shatters pleasantly upon biting, revealing the soft interior. This method mimics the beloved “snickerdoodle” texture but keeps the pure vanilla flavor profile intact.
Additional Ingredients
- • Granulated White Sugar: ½ cup (for rolling)
- • Optional: Colored Sanding Sugar (Red, Green, or Blue)
- • Optional: Almond Extract (replace ½ tsp vanilla for a festive flavor)
Instructions
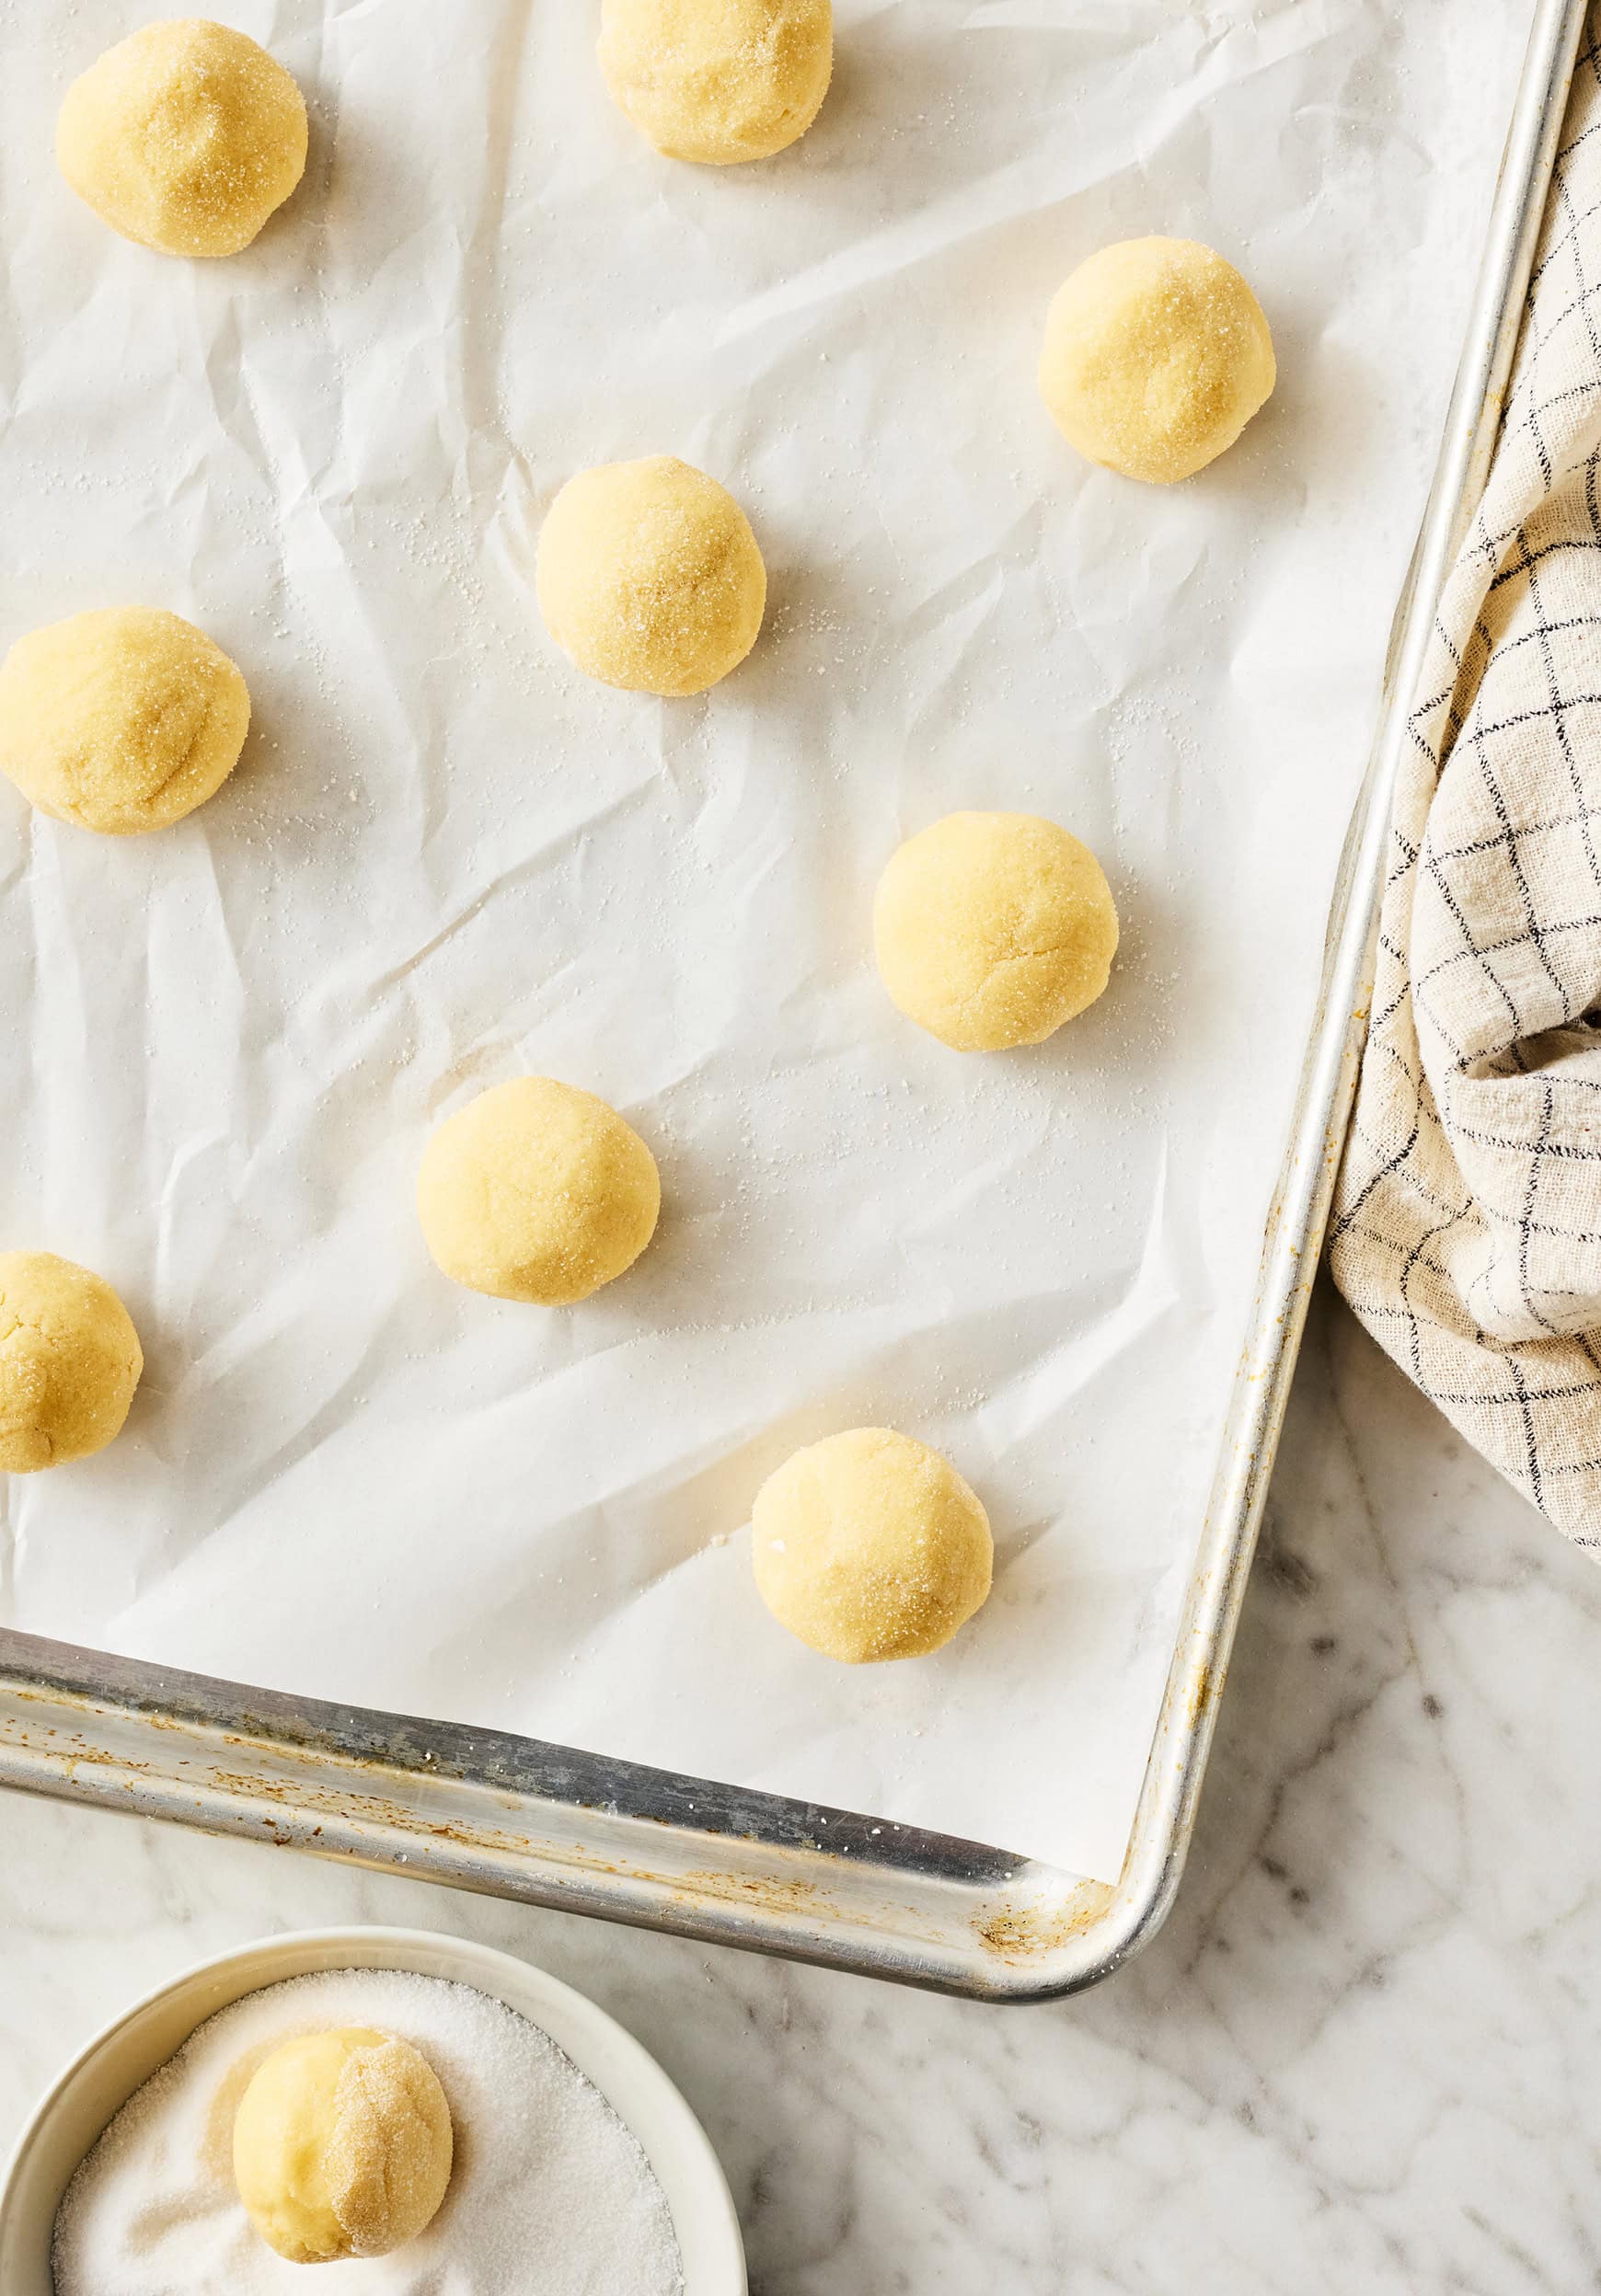
Roll for Texture
Follow the main recipe instructions through the dough creation process. Once you have scooped your dough portions, do not place them directly on the baking sheet. Instead, roll each scoop between your palms to form a smooth, round ball. Place the extra granulated sugar (or colored sanding sugar) in a small shallow bowl. Drop the dough ball into the sugar and roll it around until it is generously coated on all sides.
Bake for Sparkle
Place the sugar-coated balls on the baking sheet, spacing them 2 inches apart. Proceed with baking at 350°F for 10-11 minutes. The sugar coating will not melt completely; instead, it will form a sparkly, crunchy shell. This variation is particularly excellent for shipping in holiday care packages as the sugar coating helps the cookie retain moisture and prevents sticking.
For precise and festive baking, keeping your extracts organized is helpful. We love using neat Pantry Storage Containers to keep baking supplies fresh and accessible.
Need Dinner in a Flash?
Balance out your baking with some nutritious, savory meals. Our “30-Minute Meals” collection is designed for busy home cooks who refuse to compromise on flavor. From one-pan wonders to quick stir-frys, find your next dinner winner here.
3. The Soft Frosted Loft House Style
If you love those super-soft, cake-like supermarket cookies with pink frosting, this variation is for you. While the base recipe remains chewy, adding a layer of creamy frosting transforms the experience entirely. This method allows you to get creative with decorations for Valentine’s Day, birthdays, or Halloween without needing advanced piping skills.
Frosting Essentials
- • Cream Cheese or Buttercream Frosting (Store-bought or Homemade)
- • Gel Food Coloring (optional)
- • Sprinkles or Nonpareils
Instructions
Cool Completely
Follow the main recipe instructions. It is absolutely imperative that you allow the cookies to cool completely on the wire rack before attempting to frost them. If the cookies are even slightly warm, the fat in the frosting will melt, causing it to slide off and become greasy. We recommend waiting at least 45 minutes to an hour after baking.
Decorate
Using a small offset spatula or the back of a spoon, swirl a generous amount of frosting onto the center of each cookie. Leave a small rim of the cookie showing for a nice visual contrast. Top immediately with sprinkles before the frosting sets. Store these cookies in a single layer in an airtight container, or place parchment paper between layers to prevent the frosting from smushing.
🧪 The Science of Soft Centers
What makes a cookie chewy versus crunchy? At dishy.blog, we believe understanding the chemistry helps you become a better baker. This recipe specifically balances moisture and aeration to achieve that coveted texture.
- Baking Soda vs. Baking Powder: You will notice we use both. Baking soda reacts with the acidity in the brown sugar (or in this case, the natural acidity of the ingredients) to encourage spreading and browning. Baking powder provides the lift. By using a higher ratio of soda to powder, we ensure the cookie spreads out before it sets, creating thin, chewy edges rather than a puffy, cakey dome.
- The Power of the Yolk: Egg whites contain water and protein, which can dry out a cookie. Egg yolks are primarily fat and emulsifiers (lecithin). By adding an extra yolk, we increase the fat content, which inhibits gluten formation and coats the flour particles. This results in a richer, tender crumb that stays soft for days.
📝 Essential Baker’s Tips & FAQ
Troubleshooting Common Issues
Even with simple recipes, variables like oven temperature and humidity can affect the outcome. Here is how to solve the most common sugar cookie problems.
- Cookies Spread Too Much: This usually happens if your butter was too warm (melted) rather than room temperature, or if the baking sheet was hot from a previous batch. Ensure your butter is soft but cool to the touch, and always use cool baking sheets.
- Cookies Are Too Puffy/Cakey: This is often a result of over-measuring flour. If you scoop flour directly with the measuring cup, you might be packing in 20% more flour than required. Always use the “Spoon and Level” method or a kitchen scale.
Storage & Freezing (Pantry Friendly)
- Room Temperature: Store baked cookies in an airtight container at room temperature for up to 4 days. If you have frosted them, store them in the refrigerator, but let them come to room temperature before eating for the best flavor.
- Freezing Dough: You can freeze the scooped dough balls! Flash freeze them on a baking sheet for an hour, then transfer to a zip-top bag. Bake directly from frozen, simply adding 1-2 extra minutes to the bake time. This is the ultimate “Pantry Friendly” hack for instant fresh cookies.

Meet Jack Reynolds, the face, the stomach, and the passionate home cook behind dishy.blog. If you are looking for a Michelin-starred chef with decades of formal culinary training and a fancy restaurant background, you are definitely in the wrong place! Jack is not a professionally trained chef; he is just a regular guy who happens to have a massive, undeniable obsession with good, hearty food and feeding the people he loves.
Born and raised in the heart of Texas, Jack grew up watching his mother and grandmother turn basic pantry staples into absolute magic. However, as he grew older and started working a demanding 9-to-5 corporate job, he realized that most recipe blogs online were either incredibly complicated, required expensive and hard-to-find ingredients, or took hours to prepare. Frustrated by the lack of realistic weeknight meals for busy families, Jack decided to roll up his sleeves, tie on a flour-dusted apron, and start experimenting in his own kitchen.
He began modifying classic Southern comfort foods and traditional American dinner favorites to make them quick, easy, and incredibly pantry-friendly. What started as a small digital diary to keep track of his kitchen triumphs (and a few burnt failures) eventually blossomed into dishy.blog.
Jack’s culinary philosophy is incredibly simple: cooking at home should never be intimidating, complicated, or boring. He truly believes that the fondest memories are made when gathered around a table with a wildly delicious, home-cooked meal. Whether he is perfecting a 20-minute One-Pan Garlic Butter Steak, cracking the code to the crispiest buttermilk fried chicken, or baking a batch of his famous “melt-in-your-mouth” triple-fudge brownies, Jack’s mission is to provide foolproof recipes that anyone can master. Every single recipe on dishy.blog is rigorously tested and family-approved to guarantee flawless results.
When he isn’t busy creating mouth-watering dishes or tweaking his ultimate baked mac and cheese recipe, Jack loves hosting weekend backyard BBQs, exploring local Texas farmers’ markets, and spending time with his wife and two kids—who happily serve as his primary, and toughest, taste testers.